
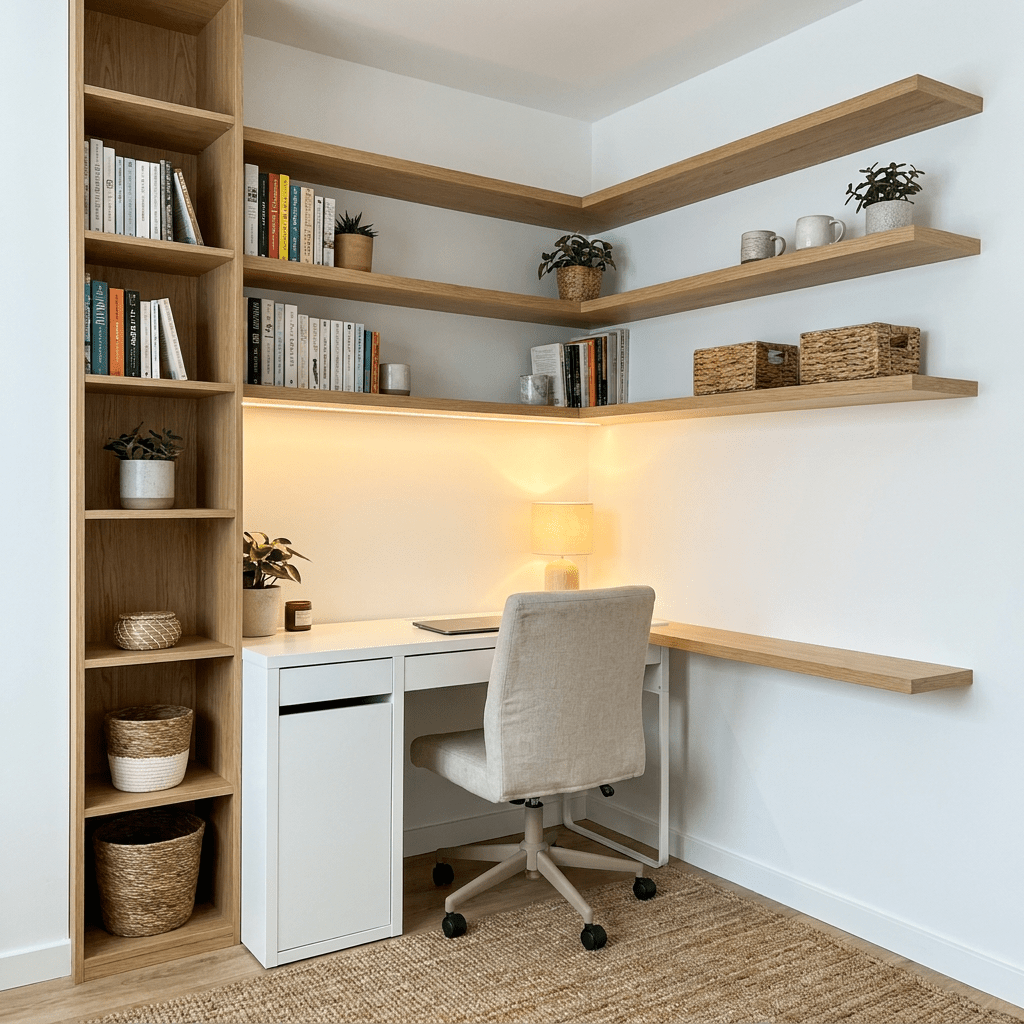
Custom built-in shelving from a carpenter often costs several thousand dollars for a single wall. A convincing version can be made from flat-pack bookcases, trim from a home improvement store and a few days of careful finishing, for a few hundred dollars plus your time.
What makes shelves look built in isn't the bookcases. It's the details that hide the fact they're separate boxes: trim at the top and bottom, filler strips in the gaps, caulk on every seam and paint over all of it. The eleven hacks below cover those details and four layouts from the photos, along with the one step you should never skip, which is anchoring every unit to the wall.
1. Start with IKEA Billy cases and add crown molding
IKEA's Billy bookcase is the usual base for this project because it's cheap, sturdy enough and comes in several widths. The standard unit is about 31.5 inches wide, 11 inches deep and 79.5 inches tall, and height extension units take it close to the ceiling in most apartments.
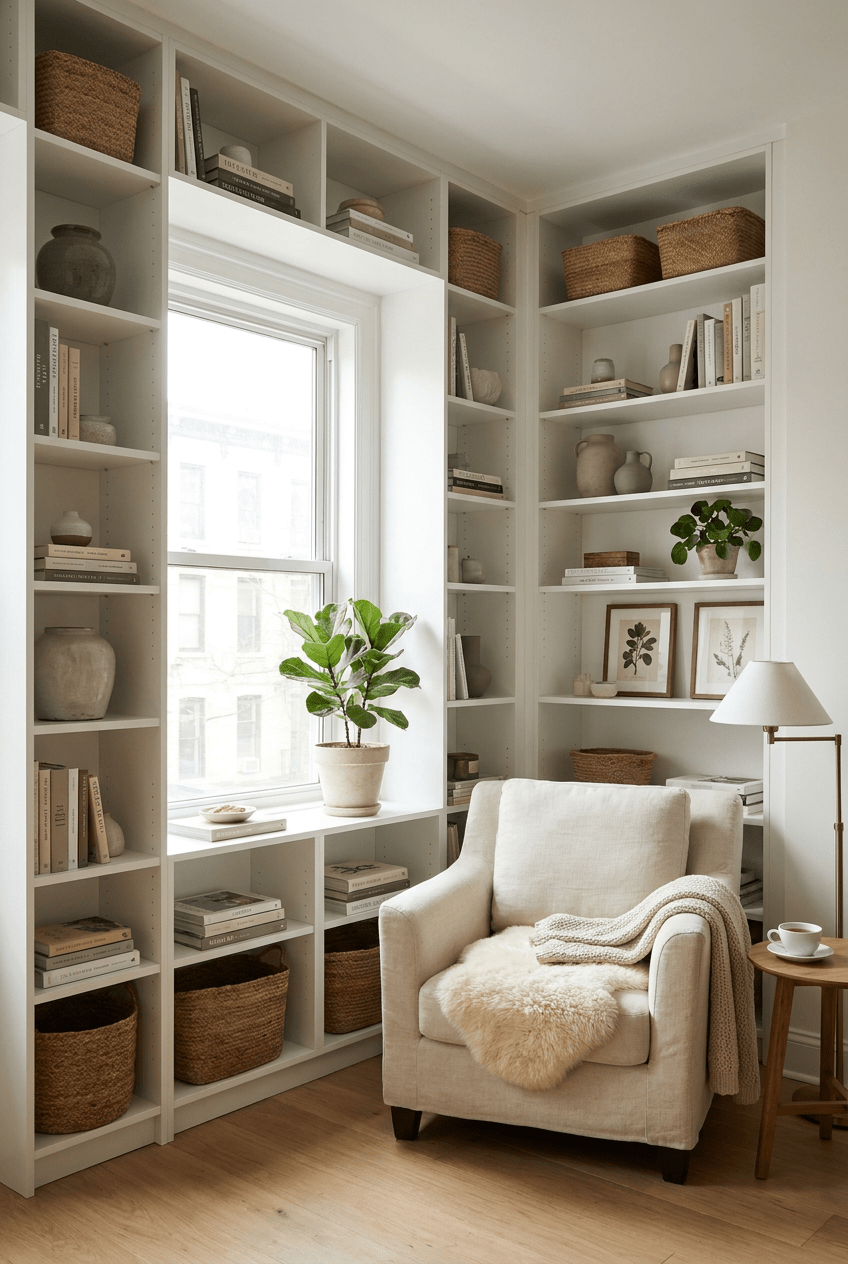
To make the cases look built in, run them right up to the ceiling with extension units or a plywood top frame, then add crown molding along the top to close the gap. In this photo, white cases wrap around a window, with a row of shorter cubbies under the sill forming a window seat.
Cut crown molding with a miter saw, or buy pre-cut corner blocks if you don't want to cut compound angles. Attach it to a strip of wood screwed to the tops of the cases, not to the ceiling, so the trim moves with the cases rather than cracking.
Before you start, measure the wall's width and height at several points. Old apartment walls and ceilings are rarely level, and trim is what hides the difference.
2. Add base molding and a toe kick
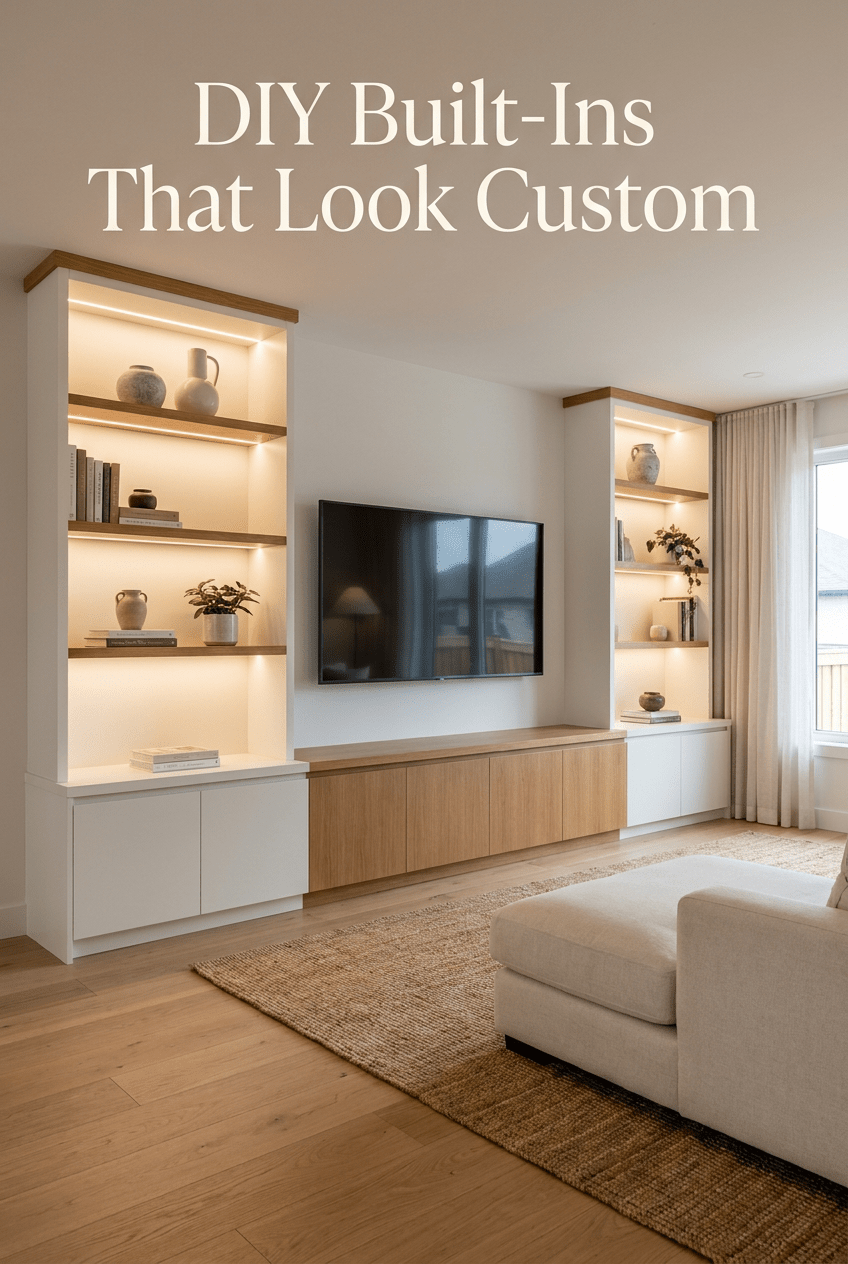
Flat-pack bookcases stand on small feet with a gap underneath, which gives them away. A plinth of 2x4s, shimmed level, raises the cases and gives you something to attach baseboard trim to. The bottom then looks solid and continuous, like the cabinets in this media wall.
Build the plinth first and level it with shims, then set the cases on top and screw them down. Match the baseboard to the existing baseboard in the room so the unit looks like it was always there.
This layout is a common one: two bookcase towers flanking a TV, with a low cabinet between them. The towers here have lit wood shelves inside white frames, which looks more expensive than all-white shelves.
Leave a cut-out in the back of the low cabinet for TV and console cables, and a vent if equipment sits inside. Mount the TV to the wall studs, not to the bookcases.
3. A desk nook between tall units
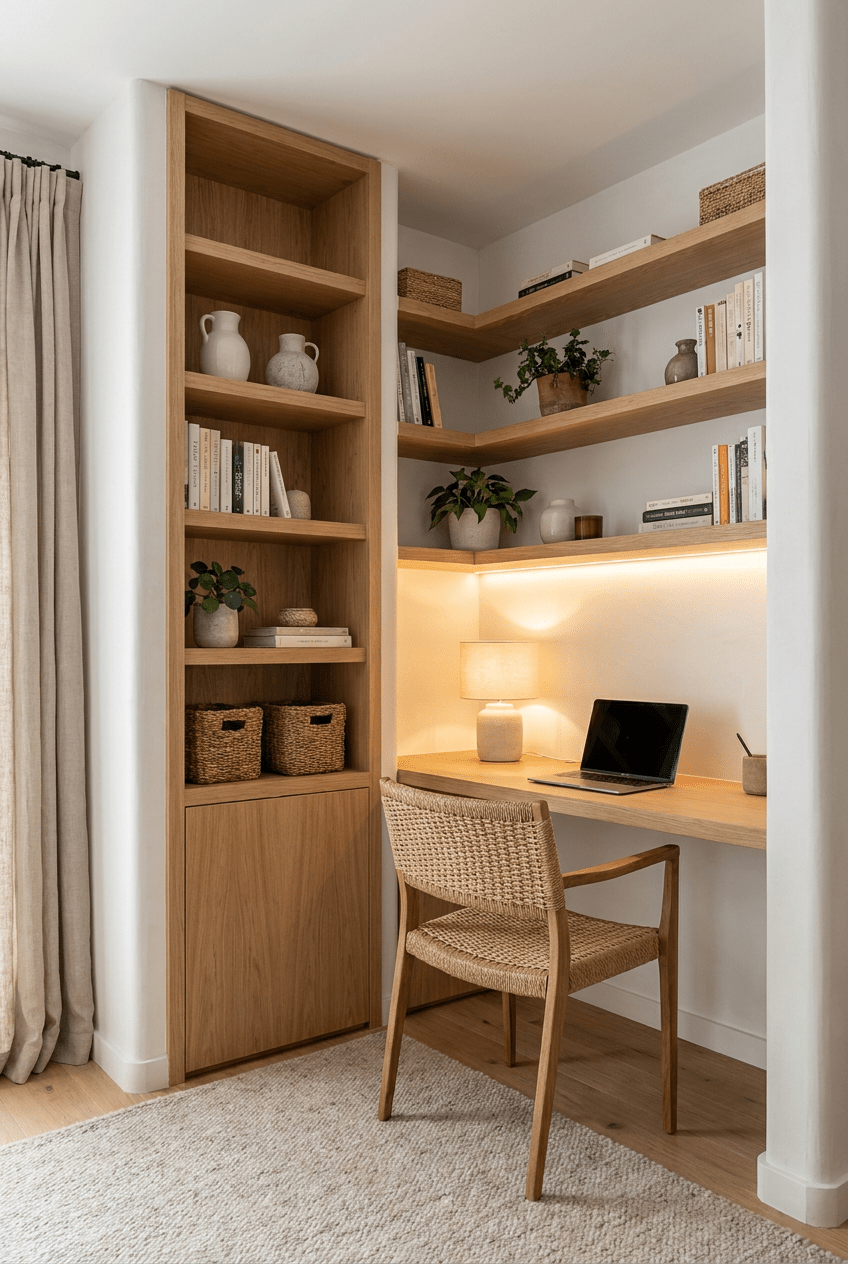
A desk between two bookcases, or between a bookcase and a wall, turns an alcove into an office. In this photo, a tall oak bookcase stands beside a wood desk top, with corner shelves above and an LED strip lighting the work surface.
Use a solid wood or butcher-block countertop for the desk, cut to fit the gap, and support it on cleats screwed into the wall studs and the sides of the cases. A desk height of 28 to 30 inches suits most people.
Corner shelves like these need strong brackets or cleats in the studs, since books are heavy. Keep at least 18 inches between the desk and the lowest shelf so there's room for a monitor.
Plan for cables before you fix the desk: drill a grommet hole at the back, and keep a power strip under the desk on a cable tray.
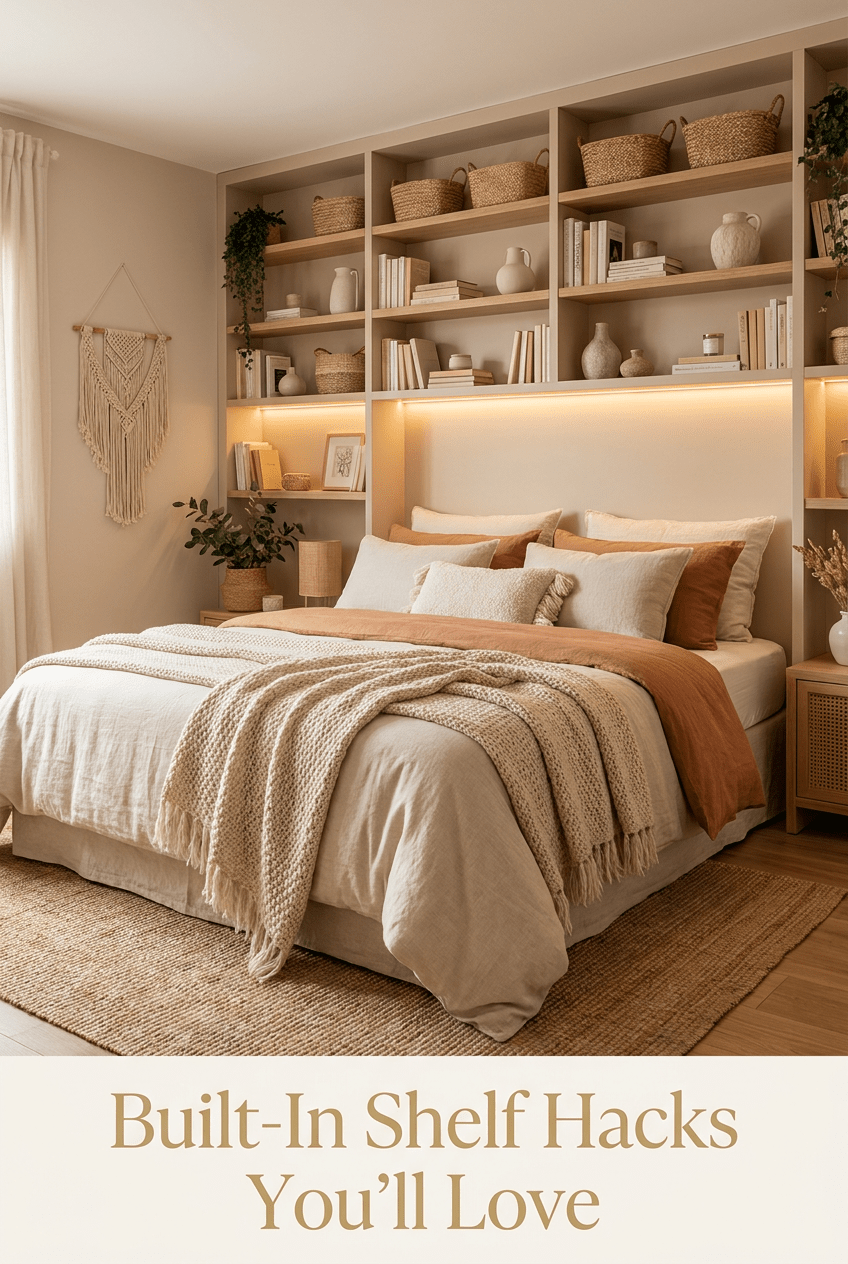
4. A headboard wall in the bedroom
Shelves on either side of the bed and across the top, like the wall in this photo, frame the bed and replace both a headboard and nightstands. In a small bedroom, it puts storage on a wall that's otherwise empty.
Use tall cases on each side and a run of wall cabinets or shelves bridging across the top. Leave at least 30 inches between the mattress top and the bridge shelf so you can sit up in bed without hitting your head.
Keep heavy items off the shelf directly over the bed. Baskets and light books are fine; anything that could fall on you at night isn't. The LED strip under the bridge here gives a soft reading light.
In a rental, this is a big job to undo, so ask your landlord before attaching anything to the walls beyond anti-tip straps.
5. Paint the back panels
Painting or wallpapering the back panels in a contrasting color makes the shelves look deeper and shows off what's on them. A soft sage, a warm terracotta or a darker gray all work behind white shelves.
The backs of flat-pack bookcases are usually thin hardboard with a slick finish. Sand lightly, use a bonding primer, then paint. Peel-and-stick wallpaper is an easier option and comes off cleanly.
6. Plywood shelves for alcoves
Where a standard bookcase doesn't fit, such as an alcove beside a chimney breast or a gap above a door, build shelves from 3/4-inch plywood. A pocket hole jig, about $40, makes strong, hidden joints that a beginner can manage.
Shelves longer than about 32 inches sag under books unless they have a support in the middle or a front edge of solid wood glued on. Edge banding iron-on tape covers the plywood layers on the front edges for a clean finish.
7. Hide the gaps between units
Separate bookcases leave visible gaps and double-thick sides where they meet. Cover each joint with a flat trim strip, about 1.5 to 2.5 inches wide, glued and nailed over the seam.
Where the cases meet a wall, a filler strip scribed to the wall's shape closes the gap. Finish every seam with paintable caulk before painting, which is what makes the whole wall read as one piece.
8. LED lighting inside the shelves
Lighting is the detail that makes DIY built-ins look high-end. LED strips or puck lights under the top of each section, like the lit shelves in the media wall, wash light down over books and objects.
Use low-voltage LED kits with a plug-in adapter, and run wires through small holes drilled in the back corners of the cases. A remote or smart plug turns them all on together. Any hardwired lighting needs a licensed electrician.
9. Mix open shelves with doors
Doors on the lower sections hide clutter and make the unit look like custom cabinetry. The media wall in the second photo has closed cabinets at the base and open shelves above.
Billy cases take matching doors, and many companies sell custom fronts for IKEA units. Use the closed sections for things you don't want on show, like games, files and cables.
10. Floating shelves beyond the cases
Where there isn't room for another full case, floating shelves can continue the line of the shelves across the wall, around a window or above a door. Line them up exactly with the shelves in the cases so the eye reads one continuous unit.
Floating shelves need hidden brackets screwed into studs. Use a level and a laser line if you have one, since even a small mismatch shows.
11. Style the shelves with some space
Packed shelves can look like a library or like clutter. Mix books stood upright with stacks lying flat, add a few objects and baskets, and leave some space on every shelf, as in the photos.
Baskets on the lowest shelves, like those in the first and fourth photos, hide the less attractive things. Repeat colors and materials across the whole unit so it looks planned.
Anchor every unit to the wall
Tall bookcases tip over if they're not anchored, especially when a child climbs them or the top shelves are full. Every case in a built-in, even when the cases are screwed together, needs to be fixed to the wall studs with the anti-tip hardware that comes with it or with brackets.
Use a stud finder and screw into wood studs, not just drywall. In a rental, anti-tip straps leave only small holes, and most landlords prefer them to the risk of a falling bookcase.
Common questions
How much does a DIY built-in bookshelf cost?
Usually a few hundred dollars for a wall, depending on how many cases you use, plus trim, caulk, paint and any lighting. That's far less than custom carpentry.
Can you do built-ins in a rental?
You can, but ask first. A version with trim attached only to the cases, and the cases anchored with small screws into studs, is the easiest to remove when you move.
Plan the layout on paper first, with real measurements, then do the trim and caulking slowly; that's where the custom look comes from. For more storage ideas, see our guides to DIY floating shelves and vertical storage ideas.